


Install a QUADOA network license on a client computer
A client computer uses a QUADOA network license by connecting to the license server. You install QUADOA Optical CAD and enter the IP address of the server in the Sentinel Admin Control Center. Repeat these steps on each client computer.
Key points
- The QUADOA network license must already be installed on the license server.
- Install the full version of QUADOA Optical CAD on the client computer, not the 45-day free trial.
- Enter the IP address of the license server in the ACC under Configuration → Access to Remote License Managers.
- Port 80 and/or 1947 must not be blocked. In company networks a proxy server may need to be set.
Connect the client computer
- Download the full version: Download the full version of QUADOA Optical CAD from www.quadoa.com/download. Do not download the 45-day free trial.
- Install QUADOA Optical CAD: Run the installer on the client computer and follow the setup wizard.
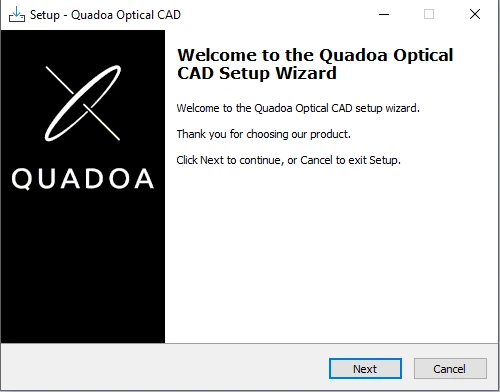
QUADOA Optical CAD setup wizard. - Open the Sentinel Admin Control Center: On the client computer, Open the Sentinel Admin Control Center (ACC) in your web browser at http://localhost:1947/. The ACC runs locally on the computer; this address does not open an external website.
- Connect to the license server: Click Configuration and open the Access to Remote License Managers tab.
- Select Allow Access to Remote Licenses.
- Select Broadcast Search for Remote Licenses.
- In Remote License Search Parameters, enter the IP address of the server that hosts the QUADOA license.
- Click Submit to save your settings.
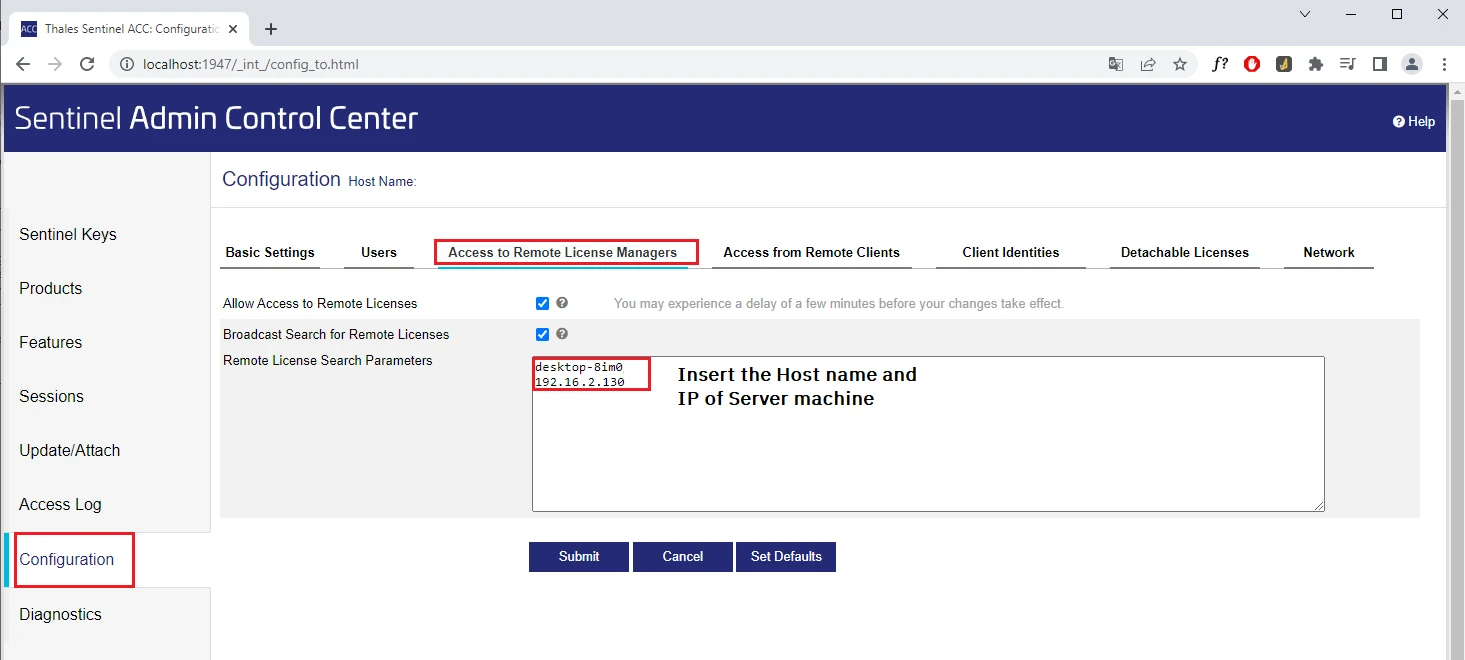
Access to Remote License Managers tab with the server address entered. - Start QUADOA Optical CAD: If the settings are correct, QUADOA runs on the client computer using the network license.
Troubleshooting
If the client computer cannot find the license, the connection to the license server is usually blocked by the network: closed ports or a proxy server.
Firewall and ports
The Sentinel license service communicates via TCP and UDP on port 80 and/or port 1947. Port 1947 is registered with IANA specifically for this purpose. At least one of these ports must be open in your firewall and router settings. If both are blocked, ask your IT department to open them.
Proxy server
If the computer is in a company network that uses a proxy server, the proxy must be entered in the Sentinel Admin Control Center. Without it, the license client cannot reach the license server. Your IT department can provide the proxy address, port and login details.
- Open the network settings: In the ACC, click Configuration and open the Network tab.
- Select manual proxy settings: Under Proxy Setting, select Manual.
- Enter the proxy details: Enter the proxy address, port and, if required, username and password.
- Save: Click Submit to save the proxy settings, then restart QUADOA Optical CAD.
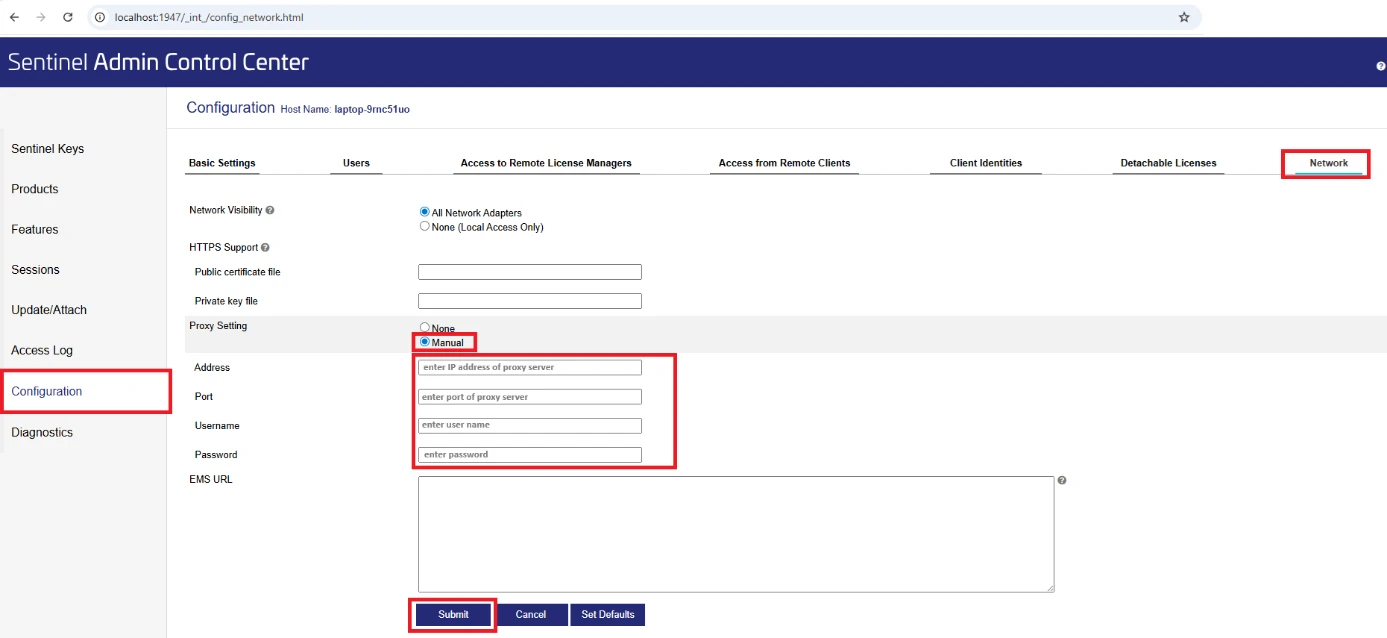
Proxy server settings in the Network tab of the ACC.
Frequently asked questions
The IP address of the server on which the QUADOA network license is installed.
The Sentinel license service communicates via TCP and UDP on port 80 and/or port 1947. At least one of these ports must not be blocked.
Enter the proxy address, port and login details in the Sentinel Admin Control Center under Configuration → Network → Proxy Setting → Manual.